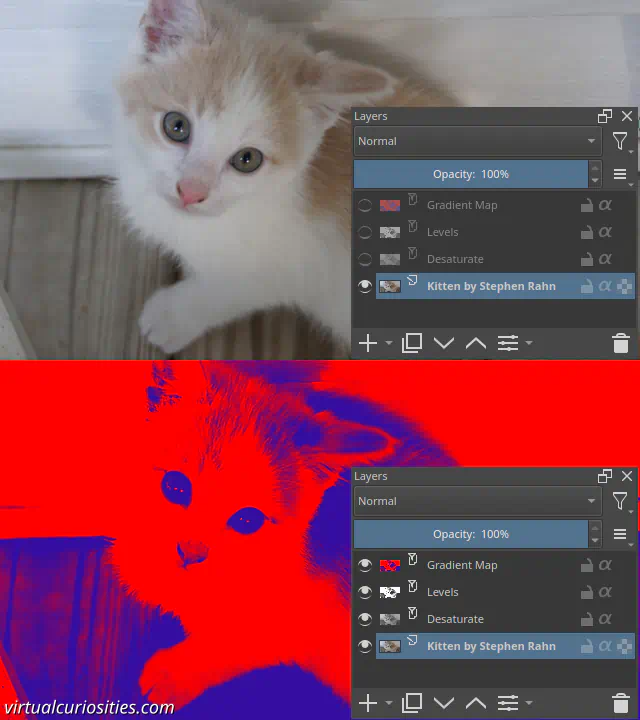
What is the "Levels" Filter in Image Editors?
Levels is a filter commonly found in image editors that allows you to quickly control the levels of brightness of an image, in particular, it lets quickly make dark gray into black, or light gray into white, by controlling the input levels; and you can also do vice-versa by controlling the output levels: turning black into dark gray, or white into light gray. The levels filter "shifts" these four extremes so you can quickly modify the range of values that a layer has.

Histogram of Levels Filter
The levels filter normally displays a histogram of the image or layer affected by the filter. This histogram can tell us what is the darkest "level" and brightest "level" currently in the image. If you want to make sure that the dark areas of your image are black and the bright areas are white, you should simply move the input levels' control points to "clamp" the input to levels that actually exist in the image, and then the filter will "stretch" them to fit the output levels.
Gamma of Levels Filter
The levels filter also typically has a middle value for the gamma factor. When the gamma is 1.0, the default, it linearly interpolates between the two extremes. We can use other values to quickly control the brightness of the image. In practice, if you ever need to apply a gamma function to an image, this is probably the easiest method in most image editors.
Tricks
The levels filter is extremely useful in combination with filters that operate on lightness levels, such as Gradient Map and halftone generators.