Drawing a Destructive Gradient on a Paint Layer
To draw a gradient destructively on a paint layer, follow the following steps:
1: select the gradient tool in the toolbox.

2: select which gradient you want to use.
In the toolbar, you should see a button with an icon of a gradient. Clicking on it will reveal a dropdown to select a gradient. It's possible to add custom gradients if you want and tag them.
Some built-in gradients include "foreground to background." While this is selected, the active gradient will be a gradient from the foreground color to the background color, which are indicated in the two small squares on the toolbar.
There are two methods you can use to select the FG and BG colors. The first would be to click on the small squares, but they are tiny, so that's not very convenient. The second is to simply switch FG and BG using a keyboard shortcut, which should be the X key by default. In other words, pick a color for the FG, press X, pick a color for the BG, and press X again.
3: click and drag on the canvas with the gradient tool active to create the gradient. By default you should see a linear gradient drawn from the starting point to the point you release the left mouse button. It's non-repeating by default.
You can customize which type of gradient and other aspects in the Tool Options docker.
Creating a Non-Destructive Vector Gradient
An alternative way to create a gradient, which may create smaller Krita files depending on what you're doing with it, is to create the gradient in a vector layer instead of a paint layer. Although this is a bit more complicated to set up, one advantage of this is that you can easily edit the gradient later. To do this, follow the following steps:
1: create and select a new vector layer.

2: select the Rectangle shape tool.
3: draw a rectangle on the canvas. If you want to fill the entire canvas you can just resize the rectangle to make it cover the entire canvas later.
4: select the Select Shapes tool (it's the first tool, with an arrow icon).
5: click on the rectangle you just made to select it.
6: in Tool Options, click on the tab with a paint bucket icon to change the fill of the shape.
7: click on the gradient icon.
8: double click on the "water drop" control points under the gradient to change their colors.
9: to change the direction of the gradient, click and drag the orange diamond control points on the rectangle.

Non-Destructive Gradient Fill Layer
In some cases, adjusting the gradient of a shape may be difficult if you need to exact precision. In these cases, you may use a fill layer instead, which is a lot more trickier to adjust but allows you to input the coordinates of the gradient.
1: add a fill layer to the layer stack.
2: in the fill layer dialog (you can reopen this by right clicking and going to Properties...), select Gradient on the side pane.
3: in the position tab, you can, or rather, you HAVE to, input the X, Y coordinates of the gradient's start and end point. By default, we have 0%, 50% for the starting point, and 100%, 50% for the ending point, which is really difficult to visualize to be honest, but it means the gradient is horizontal since Y stays the same while X goes from 0% to 100%.
Observation: maybe this dialog would make more sense if it grouped the axes instead of the points?

Creating a Non-Destructive Gradient Overlay Layer Style
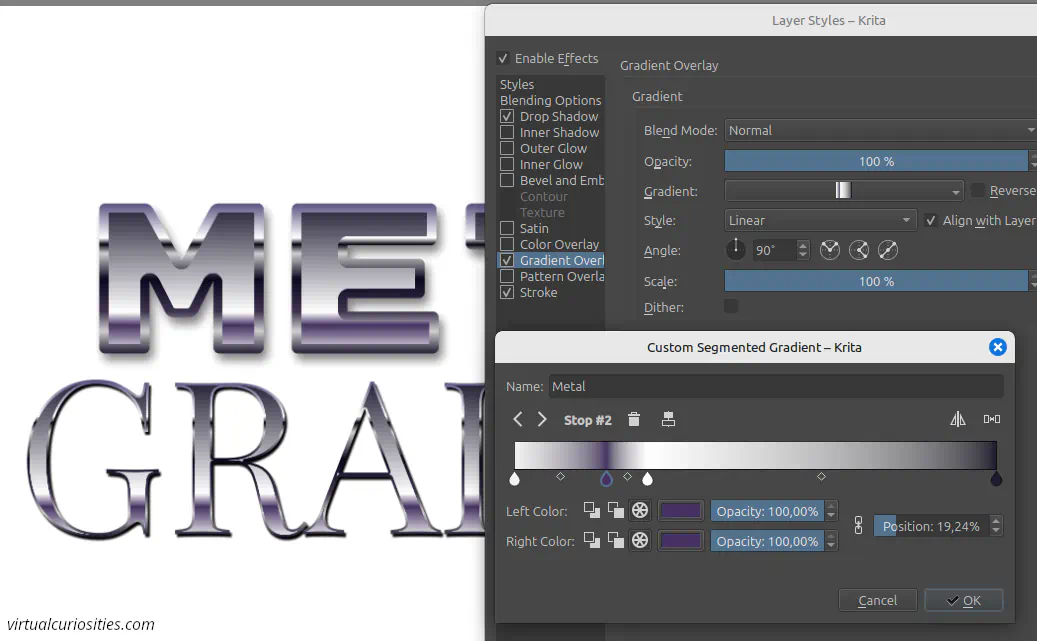
Another method we can use to create a gradient in Krita is to use a gradient overlay layer style effect. Like color overlay, gradient overlay covers the entire layer. One advantage of the gradient overlay method is that it can automatically resize the gradient to cover the non-transparent pixels of the layer or layer group the overlay is applied to.
Unfortunately, there is HUGE disadvantage in how gradient overlays currently work in Krita: they always reload the settings from the gradient preset you selected, and the preset isn't saved in the file, it's global. This means if you create a preset called "orange to red" in one file, then you decide to change the hue of the orange while working in another file, when you re-open the first file it won't look the same way as you saved it because it will reload the global preset. Considering this is a bit of a fatal flaw for anyone that wants data not to change on its own when you aren't touching it, I recommend using the vector gradient method even in cases where the Gradient Overlay would be more convenient.
In any case, to add a gradient overlay to a layer:
1: right click on it to display its context menu and click on Layer Style.... Then add a gradient overlay effect, and click OK.